5 steps to Flawless Nail Stamping

5 steps to Flawless Nail Stamping
 How to video
1. Remove any polish and file your nails to your chosen shape.
2. Apply your base coat then pick your nail colour and apply to your nails.
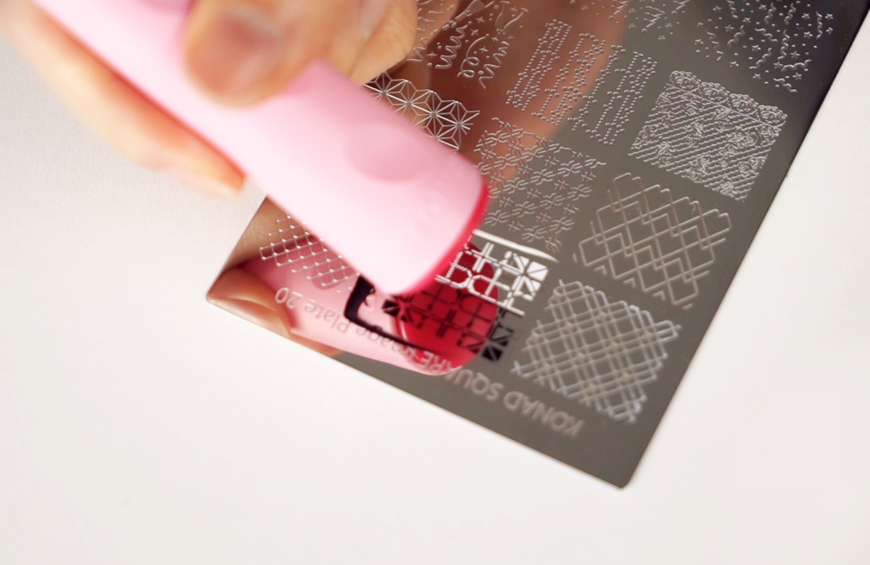
3. Choose a nail plate. Then take the nail polish colour (it works with any brand) that you want your design to be, and paint it over the nail plate generously
4. Using the scraper accessory at a 45 degree angle, scrape over the design to remove any excess polish before stamping
5. Press the stamping tool onto the painted design, and then apply it to your nail in a rolling motion going from edge to edge. Any excess on your fingers can be removed with a cotton bud soaked in nail polish remover. For an ombre effect, apply more than one colour to the plate. When scraping off the excess, scrape in different directions to mix the colours together. If you want to get really creative and mix patterns, follow the same process and build the designs onto your nail
6. To finish, apply your clear top coat to lock down the designs - and there you have it!
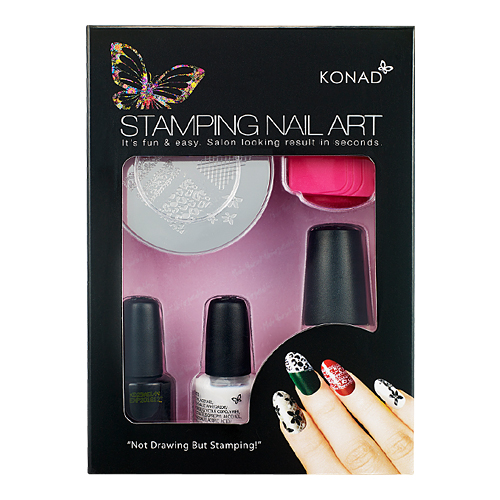
Visit Konadbeauty.com for designed sets which are perfect for gifts.

Add Comment